Right to work checks UK: the employer's practical guide
Ensure compliance with right to work checks in the UK. Learn methods to avoid penalties and protect your business legally.

Before you offer anyone a start date, you must carry out a right to work check and follow one of the three methods the Home Office prescribes. That is the rule. Get the method right and you establish a statutory excuse — the legal protection that shields you from a civil penalty if it later emerges the person had no right to work. Get the method wrong, even if the person genuinely was entitled to work, and that protection disappears.
The three prescribed methods are:
- Manual document check using List A or List B documents — acceptable for any worker, including British and Irish citizens.
- Home Office online check using a share code — for workers with a digital immigration status (non-British/non-Irish nationals with an eVisa or biometric record).
- Digital check via an Identity Service Provider (IDSP) using Identity Document Validation Technology (IDVT) — available for British and Irish passport holders only.
Check a job applicant’s right to work on GOV.UK is the starting point for every employer. Once the check is complete, record the date and retain the evidence. The check must happen before employment begins, not on the first day of work.
Key takeaways
Establishing a statutory excuse depends entirely on following the prescribed check process and retaining the correct evidence — the outcome alone is not enough.
| Point | Details |
|---|---|
| Check before work starts | The right to work check must be completed before employment begins, not on the first day. |
| Use the correct method | Match the check method to the worker’s status: manual for British/Irish, share code for digital-status workers, IDSP for British/Irish passport holders. |
| BRPs are no longer valid for manual checks | Workers with digital immigration status must provide a share code; accepting an old BRP does not establish a statutory excuse. |
| Retain evidence and diarise expiries | Keep copies for employment duration plus two years; set follow-up reminders at the point of the initial check, not later. |
| Timeprof supports compliance administration | Timeprof provides central evidence storage, automated expiry alerts, audit logs, and role-based access to reduce the risk of missed follow-ups. |
Table of Contents
- Why right to work checks matter: statutory excuse and civil penalties
- Which method should you use: manual, online share code, or IDSP?
- What documents are acceptable: List A and List B explained
- How to carry out each type of check
- When do you need to carry out follow-up checks?
- Employer Checking Service: when to use it and what to expect
- Record keeping, retention and data protection
- What to do when an applicant cannot provide documents or you suspect fraud
- Practical compliance: using HR systems to reduce risk
- What the process discipline actually demands
- Timeprof helps you stay on top of right to work compliance
- Sources
Why right to work checks matter: statutory excuse and civil penalties
The legal foundation sits in the Immigration, Asylum and Nationality Act 2006. It makes employing someone without the right to work a civil offence, and in cases where an employer knew or had reasonable cause to believe the person was not entitled to work, a criminal one. The Code of Practice on Preventing Illegal Working, which applies to checks from 13 February 2024 onwards, sets the framework for civil penalties and explains how employers can reduce or avoid them.
A statutory excuse is the legal protection an employer gains by following the prescribed check process correctly. It does not mean the person definitely has the right to work — it means you followed the right steps, kept the right evidence, and can demonstrate that. If a civil penalty is later issued, a valid statutory excuse can reduce or eliminate it.
The civil penalty for employing an illegal worker can reach £60,000 per worker under the current penalty framework set out in the Code of Practice.
The critical point the employer’s guide makes is that procedural compliance is what preserves the statutory excuse, not just the outcome. An employer who carries out an informal check, reaches the right conclusion, but cannot produce the required evidence is in exactly the same position as one who did nothing at all.
Key legal points to understand:
- Civil penalties apply per worker, not per incident, so a pattern of non-compliance compounds quickly.
- Criminal liability can arise where an employer knew or had reasonable cause to believe a worker was not entitled to work.
- The statutory excuse is only available when the employer followed the prescribed steps in full.
- Correct procedure from 13 February 2024 must follow the current Code of Practice.
Which method should you use: manual, online share code, or IDSP?
Choosing the wrong method is one of the most common compliance errors. The method depends on the worker’s nationality and immigration status, not on what is most convenient.
| Worker type | Correct method | Statutory excuse type |
|---|---|---|
| British citizen (passport holder) | Manual check OR IDSP/IDVT | Continuous (List A) |
| Irish citizen (passport/passport card holder) | Manual check OR IDSP/IDVT | Continuous (List A) |
| Non-British/non-Irish with digital immigration status (eVisa, BRP replaced by eVisa) | Home Office online check (share code) | Continuous or time-limited depending on permission |
| Non-British/non-Irish with limited leave to remain | Home Office online check (share code) | Time-limited (List B equivalent) |
| Worker with outstanding Home Office application or certain certificates of application | Employer Checking Service (ECS) | Time-limited (28-day PVN) |
Checking a job applicant’s right to work sets out which method applies to each status clearly.
A few points that catch employers out:
- Biometric residence cards and permits are no longer acceptable for manual checks. Anyone who previously held a BRP now has an eVisa and must provide a share code for an online check. Accepting an old BRP as a manual document does not establish a statutory excuse.
- British and Irish citizens cannot use the Home Office online share-code service. They must use a manual check or, if they hold a valid passport, an IDSP.
- When using an IDSP, the provider must be certified against the RtW supplementary code (0.4), which became a statutory supplementary code on 1 December 2025. The provider must supply you with specific data fields confirming the check outcome — retain that evidence.
- A forthcoming supplementary code (1.0) will introduce formal conformity assessment for digital right to work checks, taking effect when the first conformity assessment body is accredited, no earlier than 1 September 2026. Employers choosing an IDSP now should ask providers how they plan to meet the 1.0 requirements.
- Never ask only certain groups to provide additional documents. Offer the same check options to all candidates in the same situation to avoid discrimination risk.
What documents are acceptable: List A and List B explained
The manual document check relies on two lists of acceptable documents. The list a document falls into determines the type of statutory excuse you get.
List A documents establish a continuous statutory excuse — you check once and, provided the person’s circumstances do not change, you do not need to recheck. A British passport, an Irish passport, and a certificate of registration or naturalisation as a British citizen all appear on List A.
List B documents establish a time-limited statutory excuse. The person has permission to work, but that permission expires. You must carry out a follow-up check before the expiry date to maintain the statutory excuse. Documents in this category include a current passport endorsed with a time-limited visa, a current Biometric Residence Permit (where it remains valid for manual check purposes in specific circumstances), and certain other documents showing limited leave to remain.
The Code of Practice sets out the full document lists. When inspecting documents, check:
- The document is a genuine original, not a photocopy or scan presented as original.
- The photograph matches the person in front of you.
- The expiry date has not passed (for time-limited documents).
- Any work conditions or restrictions are consistent with the role you are offering.
- Endorsements, stamps, and vignettes are consistent with the document’s stated status.
- The document shows no obvious signs of tampering: mismatched fonts, altered dates, or laminate that has been lifted and resealed.
Pro Tip: Build a short visual checklist for your hiring managers: check photo, check expiry, check conditions, check for tampering. Laminate it and keep it at the point where checks are conducted. A two-minute structured look catches the majority of obvious issues that a hurried glance misses.
How to carry out each type of check
Manual document check
- Ask the worker to provide original documents from List A or List B before their employment begins.
- Check the documents in the worker’s presence (or via a live video call — see below).
- Satisfy yourself the documents are genuine, belong to the person presenting them, and permit the work you are offering.
- Make a clear, unalterable copy of each document — both sides where relevant (for example, a biometric card where applicable, or the photo page and any endorsement pages of a passport).
- Record the date of the check on the copy.
- Retain the copies for the duration of employment and for two years after employment ends.
For video calls, the worker must show the original documents to the camera. You must be satisfied they are genuine. After the call, the worker must send the originals to you for physical inspection before employment begins, or you must arrange to see them in person. A screenshot of a document on a screen does not satisfy the prescribed steps.
Home Office online check (share code)
- Ask the worker to generate a share code via the GOV.UK view and prove service. They provide you with the share code and their date of birth.
- Go to the employer-facing online check service on GOV.UK and enter the share code and date of birth.
- The service returns a result confirming or not confirming the right to work. Only continue with employment if the check confirms the right to work.
- Retain the share code and the date of the check as your evidence. You do not need to retain document copies for an online check.
- Note whether the confirmation is time-limited — if it is, diarise the expiry date for a follow-up check.
Do not use the migrant-facing part of the service to conduct your check. Only the employer-facing check establishes a statutory excuse.
IDSP/IDVT digital check (British and Irish passport holders)
- Select a certified IDSP that is certified under the RtW supplementary code (0.4).
- The IDSP conducts the identity verification remotely using IDVT.
- Obtain from the IDSP the required data fields confirming the check outcome — the provider must supply these to you for the check to establish a statutory excuse.
- Retain the provider’s evidence and certification records alongside the employee record.
- Satisfy yourself the photograph on the verified document matches the individual you are employing.
Pro Tip: The minimum evidence to retain from each method: for manual checks, clear copies of every document page used plus the recorded check date; for online checks, the share code and check date; for IDSP checks, the provider’s output data and certification evidence. Store all three in the same system as the employee record so an auditor can find them in seconds, not hours.
When do you need to carry out follow-up checks?
Follow-up checks are only required where the initial check established a time-limited statutory excuse. If the first check produced a continuous statutory excuse (a List A document or an online check confirming indefinite or permanent status), no follow-up is needed unless the worker’s circumstances change.
Where a follow-up is required:
- The check must be carried out on or before the date the current permission expires.
- Carry it out using the same prescribed methods: a new manual check of updated documents, a new online share-code check, or a new IDSP check if applicable.
- Retain the new evidence in the same way as the original check.
- Record the new check date.
The employer’s guide recommends carrying out the follow-up check shortly before the expiry date rather than on it, to avoid any gap in the statutory excuse if the check reveals a problem.
Practical steps to avoid missed follow-ups:
- Diarise every expiry date at the point of the initial check, not later.
- Set a reminder at least four weeks before expiry to give time to request a share code, contact ECS if needed, or arrange a manual check.
- Assign a named HR owner for each expiry date so it does not fall through the cracks when staff change.
- Record the follow-up check in the same file as the original check, clearly dated.
The 28-day rule applies in specific ECS contexts (see the next section) rather than as a general grace period for follow-up checks. Do not treat it as a buffer — the follow-up must happen before expiry.
Employer Checking Service: when to use it and what to expect
The Employer Checking Service (ECS) is not a routine check. It exists for specific circumstances where a worker cannot produce acceptable documents and cannot use the online share-code service. Use ECS when:
- The worker has an outstanding application to the Home Office (made before their previous leave expired) and holds a Certificate of Application (CoA) or an Acknowledgement of Receipt (ARC).
- The online share-code service is unavailable due to a technical failure and the worker cannot produce documents.
- The worker has an appeal or administrative review pending.
- You have been directed to use ECS by the Home Office.
How to submit an ECS request:
- Gather the worker’s personal details and the reference number from their CoA or ARC.
- Submit the request via the ECS tool on GOV.UK.
- ECS aims to respond within five working days.
- Tell the worker you have submitted the request and what the outcome will mean for their employment.
If ECS confirms the right to work, it issues a Positive Verification Notice (PVN). The PVN is your evidence for a statutory excuse in that case. Retain it as you would any other check evidence. In some follow-up contexts, a PVN provides a time-limited excuse of up to 28 days, after which you must recheck.
If ECS cannot confirm the right to work, you cannot lawfully employ the person. Do not start employment while the ECS request is pending unless the worker can produce other acceptable documents in the meantime.
Pro Tip: Store the PVN in the employee record immediately on receipt and set a calendar reminder for the 28-day expiry where applicable. A PVN sitting in an inbox rather than the compliance file is evidence that exists but cannot be found when you need it.
Record keeping, retention and data protection
The evidence you retain is what proves you carried out the check. Without it, the statutory excuse does not exist in practice, even if you did everything correctly at the time.
What to retain for each check type:
- Manual check: clear, unalterable copies of every document used (both sides where relevant), with the check date recorded on each copy.
- Online share-code check: the share code and the date of the check. No document copies are required.
- IDSP check: the data output provided by the IDSP confirming the check outcome, plus the provider’s certification evidence.
Retention period: keep copies for the entire duration of employment and for two years after employment ends. This applies to all check types.
Data-protection controls to put in place:
- Limit access to right to work evidence to HR staff with a legitimate need.
- Store copies in an encrypted system, not in shared drives or email folders.
- Apply a retention schedule so records are deleted securely after the two-year post-employment period.
- Use role-based permissions so that line managers cannot access documents they have no reason to see.
Pro Tip: Maintain an audit trail that links the retained evidence to the recorded check date and the name of the HR user who conducted the check. If a Home Office inspector asks who carried out the check and when, you want that answer to take seconds, not a search through email archives.
What to do when an applicant cannot provide documents or you suspect fraud
This is the situation where employers most often make costly mistakes — either by employing someone they should not, or by refusing employment in a way that creates discrimination liability.
Ordered steps when documents are missing or unavailable:
- Pause employment authorisation. Do not allow the person to start work.
- Ask the candidate whether they have a share code (for those with digital immigration status) or whether they can produce any acceptable documents from List A or List B.
- If they have an outstanding Home Office application, ask for their CoA or ARC reference and submit an ECS request.
- Record every step: the date, what you asked, what the candidate provided, and who in HR handled the case.
- If ECS cannot confirm the right to work and no acceptable documents are available, you cannot lawfully employ the person.
If you suspect a document is fraudulent:
- Do not return the document — retain it and note the reason for your concern.
- Record your observations in writing: what specifically appeared inconsistent, the date, and who was present.
- Contact the Home Office’s Employer Checking Service or the relevant authority for guidance.
- Do not accuse the candidate directly of fraud — record your concern and follow the process.
Additional points:
- Refusing employment must be based on the outcome of the prescribed check process, not on the candidate’s nationality, ethnicity, or accent. Applying checks inconsistently across candidates of different backgrounds creates discrimination risk under the Equality Act 2010.
- If you have reasonable cause to believe a person is not entitled to work and you employ them anyway, that may constitute a criminal offence, not merely a civil one.
- Document the reason for any refusal of employment in writing and retain it alongside the check record.
Warning: employing someone you know, or have reasonable cause to believe, is not entitled to work in the UK may be a criminal offence under the Immigration, Asylum and Nationality Act 2006, carrying an unlimited fine and up to five years’ imprisonment.
Practical compliance: using HR systems to reduce risk
The most common reason employers lose their statutory excuse is not ignorance of the rules — it is process failure. A follow-up check missed because no one diarised the expiry date. A PVN filed in an email inbox rather than the employee record. A new hire who started work two days before the check was completed because the recruitment team and HR were not synchronised.
HR systems that support right to work compliance should provide streamlined HR workflows that reduce administrative compliance risk:
- Expiry date alerts triggered automatically from the date recorded at the initial check.
- Central evidence storage linked directly to the employee record, not a separate folder or filing cabinet.
- Role-based access so only authorised HR users can view or amend check records.
- Audit logs recording who carried out each check, when, and what evidence was uploaded.
- Onboarding workflow integration that prevents a new hire from being marked as active until the check is recorded as complete.
A practical checklist for integrating right to work checks into your recruitment workflow:
- Add the right to work check as a mandatory step in the offer-acceptance stage, not the first-day induction.
- Require evidence upload before the start date is confirmed in the system.
- Assign a named HR owner to every time-limited check with a diarised follow-up date.
- Run a monthly compliance report showing all expiry dates in the next 60 days.
Pro Tip: Automate expiry reminders and link them to the employee record rather than a personal calendar. When the HR manager who set the reminder leaves the business, a system-level alert survives; a calendar entry does not. The workforce compliance reporting guide covers how to structure these reports effectively.
Avoid over-reliance on a digital verification service unless you can obtain and retain the provider’s evidence and certification records. The RtW supplementary code (0.4) specifies the data fields a certified IDSP must provide. If a provider cannot supply those fields, the check does not establish a statutory excuse regardless of how sophisticated the technology appears. The Office for Digital Identities and Attributes (OfDIA) is moving digital checks toward a formal conformity assessment model — ask any IDSP you are considering how they are preparing for the 1.0 requirements.
For a broader view of the system capabilities HR teams should be evaluating, the workforce management tools checklist covers the features that matter most for compliance-focused organisations.
What the process discipline actually demands
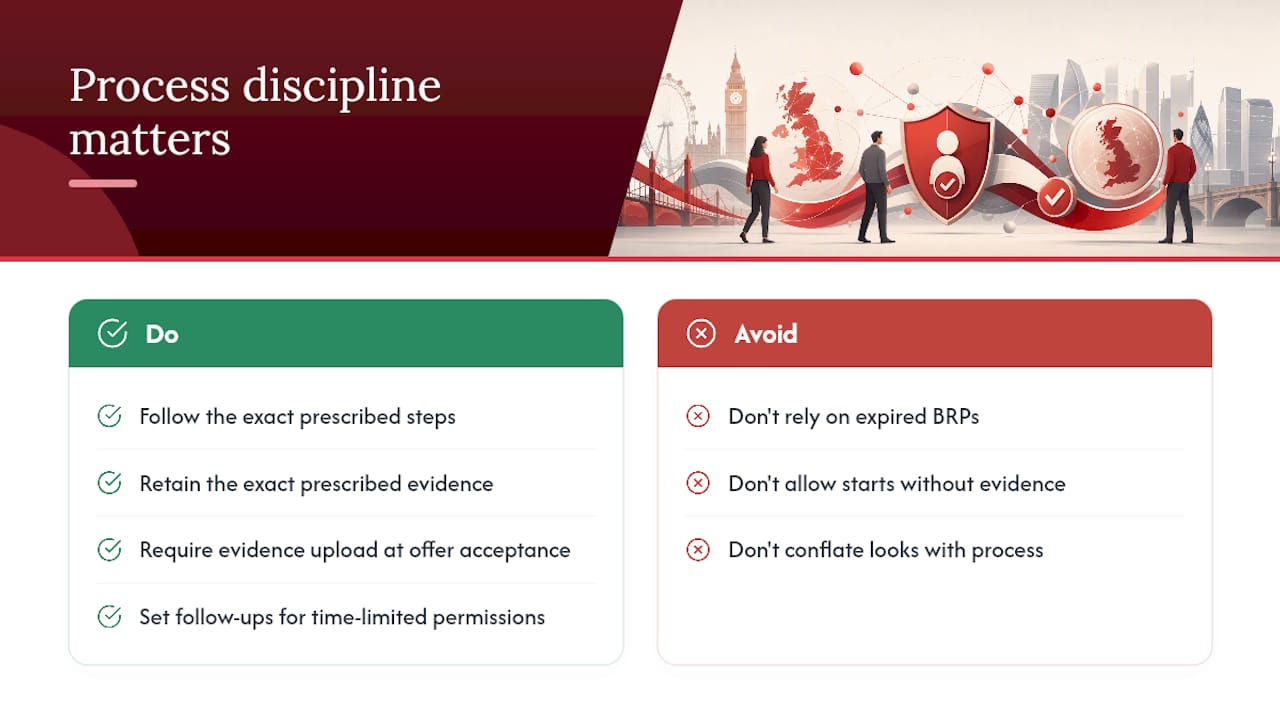
The part of right to work compliance that most guidance glosses over is this: the statutory excuse is a procedural construct, not a factual one. You can employ someone who genuinely has every right to work in the UK and still have no statutory excuse if you did not follow the prescribed steps. Conversely, you can follow every step correctly for someone who later turns out to have misrepresented their status, and the statutory excuse will protect you.
That asymmetry matters enormously for how HR teams should think about this. The question is not “does this person look like they have the right to work?” The question is “have I followed the exact prescribed process and retained the exact prescribed evidence?” Those are different questions, and conflating them is where compliance breaks down.
The pitfalls that come up repeatedly in practice are predictable: missed follow-up checks for time-limited permissions, reliance on expired BRPs that are no longer valid for manual checks, and failure to diarise expiry dates at the point of the initial check rather than later. Each of these is a process failure, not a knowledge failure. Most HR teams know the rules. The gap is in execution, particularly when recruitment volumes are high and the pressure to fill roles quickly competes with the time a proper check takes.
One change that makes a material difference: require evidence upload during the offer-acceptance stage, before the start date is confirmed. That single shift in timing removes the most common cause of accidental early starts and gives HR a natural checkpoint before the candidate is in the building.
The employer’s guide is updated regularly. The June 2025 version reflects the current requirements. Read it, not a summary of it.
Timeprof helps you stay on top of right to work compliance
Managing right to work checks across a growing workforce is where spreadsheets and shared drives start to fail. Missed expiry dates, evidence stored in email threads, no audit trail linking the check to the employee record — these are the gaps that create liability.
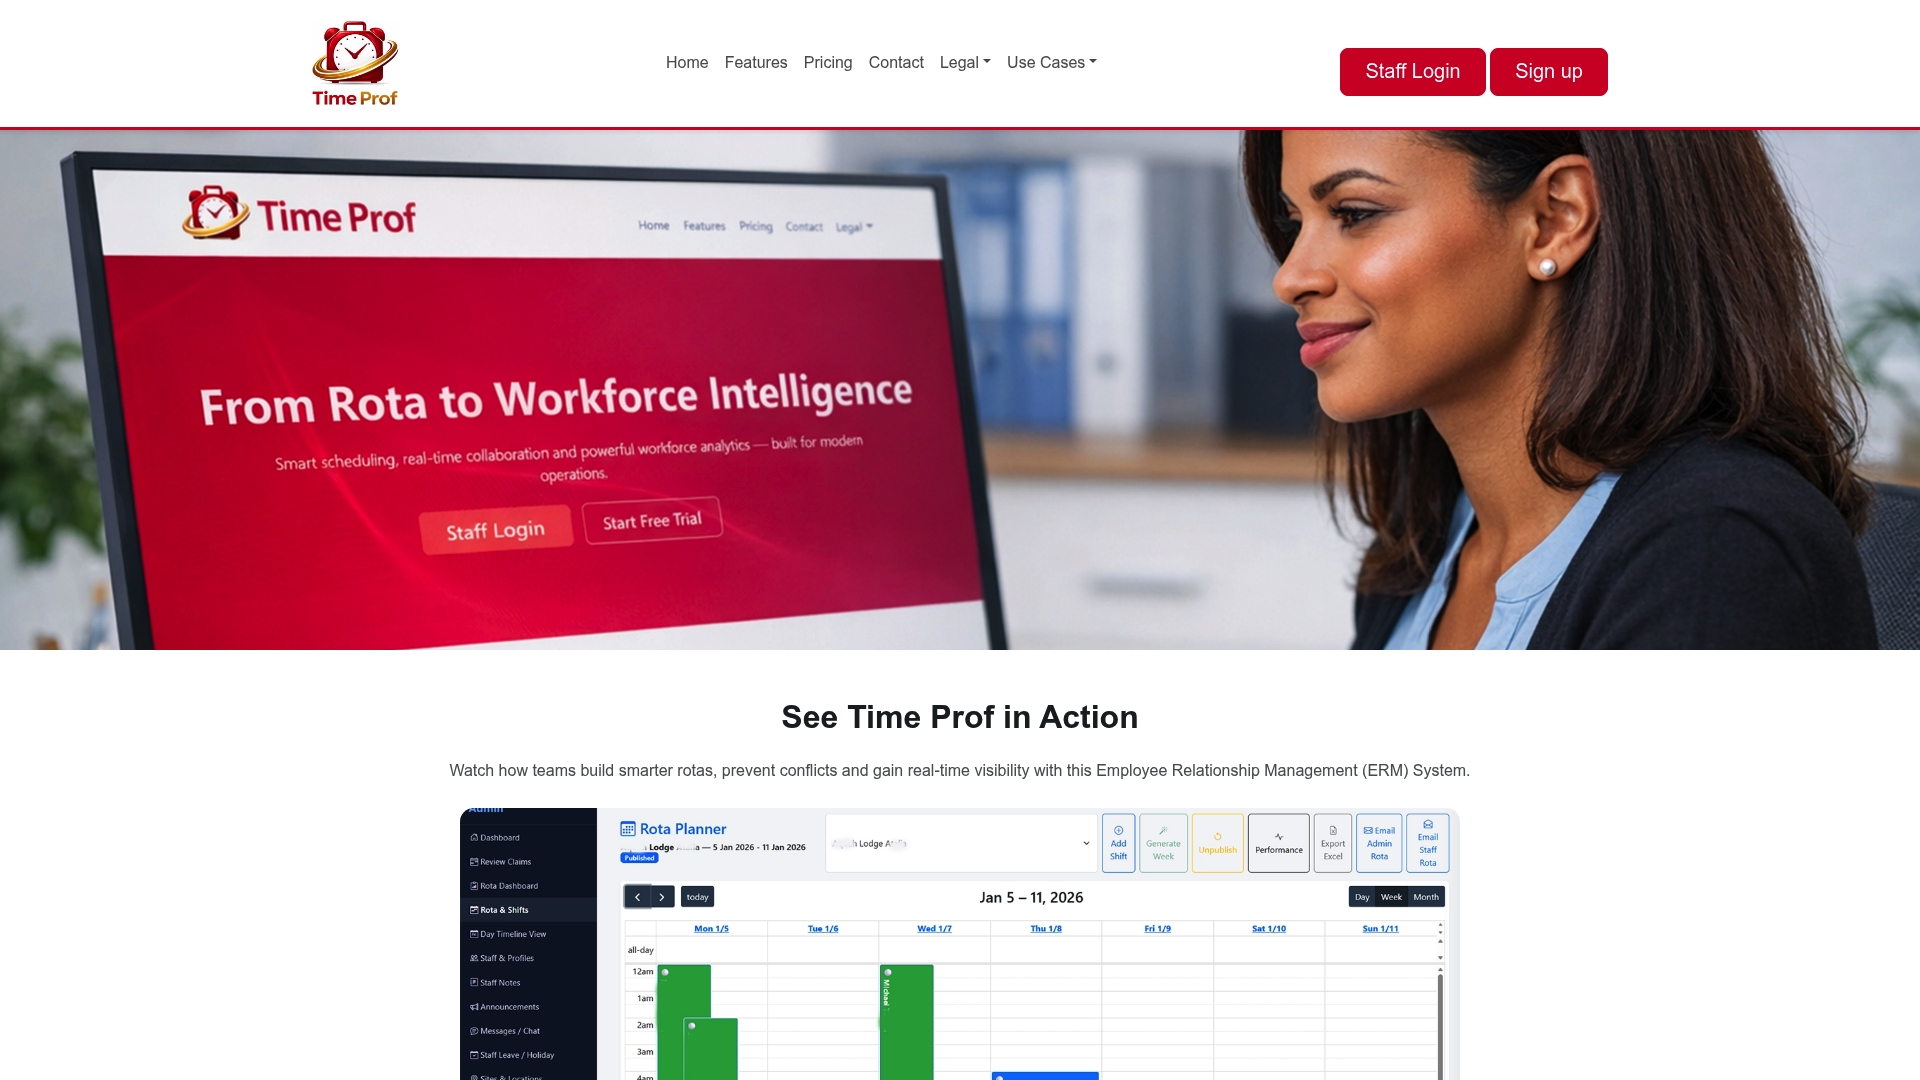
Timeprof’s workforce management platform gives HR teams a central, secure place to store right to work evidence, set automated expiry alerts, and maintain a full audit log of who carried out each check and when. Role-based access means only authorised users can view sensitive documents, and the onboarding workflow can be configured to prevent a new hire from being marked as active until the check is recorded as complete. Timeprof does not replace the Home Office’s prescribed checks — employers must still carry out the correct method themselves. What it does is remove the administrative risk of losing track of what was done, when, and by whom.
If missed follow-up checks or fragmented evidence storage are a concern for your team, explore Timeprof and request a demo to see how the platform supports compliance in practice.
Sources
Every employer conducting right to work checks should work from the primary GOV.UK sources, not secondary summaries. The key publications are:
For a specific question about a worker with an outstanding Home Office application, use the Employer Checking Service tool directly via GOV.UK. For the online share-code check, use the employer-facing check on the GOV.UK checking page, not the migrant-facing view-and-prove service.
This article is general information, not a substitute for advice from a qualified lawyer. Consult a qualified legal professional about your own circumstances before acting on anything here.